Tips for installing James Hardie Lap Siding
We’re always fielding questions about Hardie® Plank lap siding installation. Hey, even seasoned pros need to occasionally check up on an installation best practice.
To help you get your project done right the first time, we’ll be gathering tips, answers to commonly asked questions and more about James Hardie® siding installation.
If you don’t find the answer to your question, you can browse Hardie Plank lap siding installation instructions here (just be sure you’re using the right instructions for your Hardie® Zone — HZ5® or HZ10®).
You can also submit your installation questions by tweeting @James_Hardie or by sending us a Direct Message on Instagram. We’ll occasionally update this article with the most relevant questions and answers. That all said, let’s dive in.
What’s the Process for Hardie® Plank Lap Siding Installation?
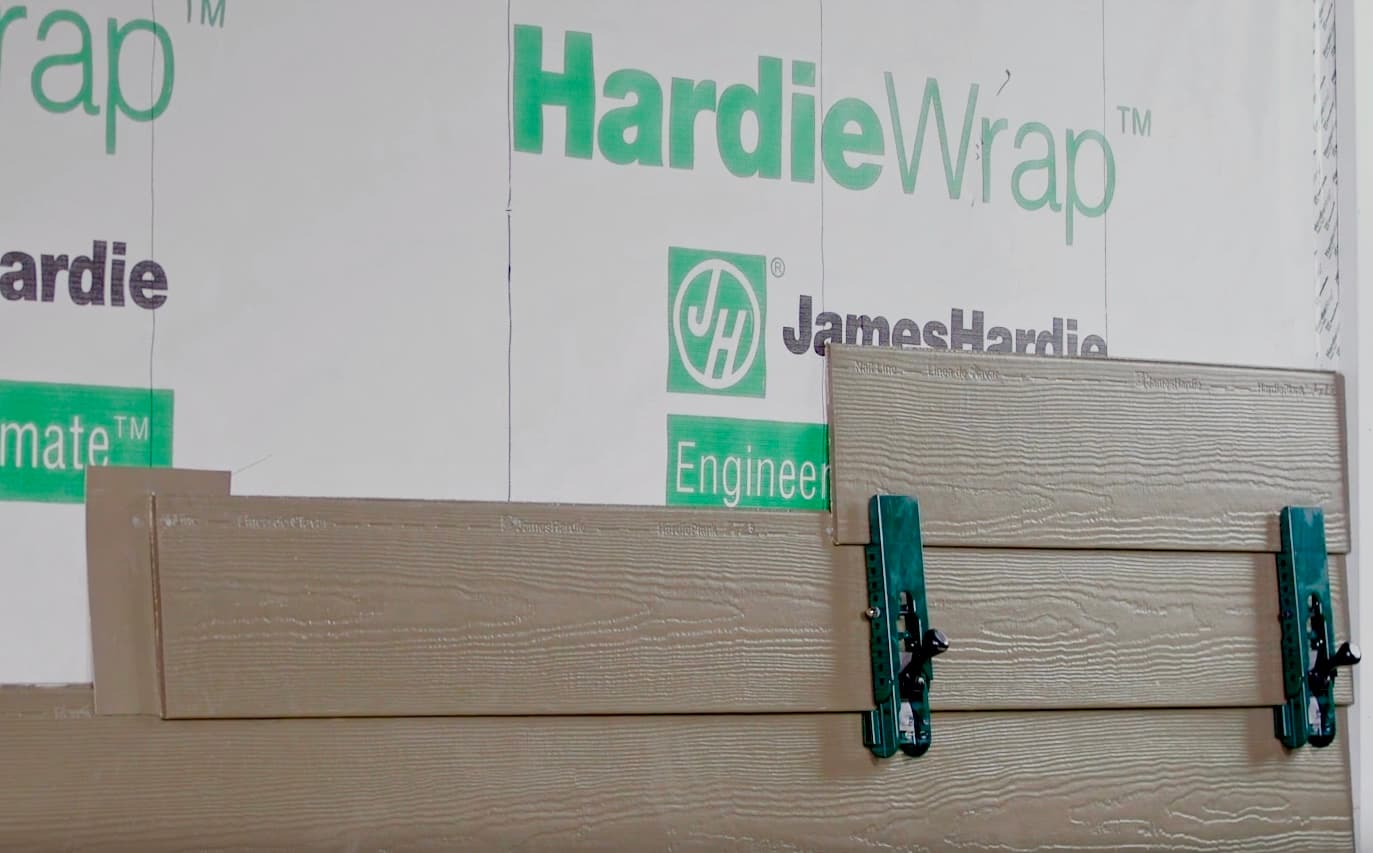
First, make sure you review the Hardie® Plank lap siding installation instructions, which contain the information you need for proper installation. To help you get started, we'd recommend checking out this helpful video, which shows you how to cut and install starter strips and how to stagger lap siding for improved appearance.
How Do I Make a Fiber Cement Starter Strip?
Hardie® Plank lap siding requires a starter strip beneath the first course. You have two options here – you can make your own or you may be able to find acceptable prefabricated, third-party starter strips available for purchase. You can make your own fiber cement starter strip by ripping a piece of Hardie® Plank lap siding into 1-1/4-inch strips.
How Do I Stagger Lap Siding?
For walls longer than 12 feet, you’ll need to butt additional lengths of siding together. It’s best to stagger the joints in each successive course to avoid noticeable patterns. Butt joints in adjacent courses should be spaced apart by at least two stud bays for 16-inch, o.c. framing or one bay for 24-inch, o.c. framing.
While random staggering can be the most aesthetically pleasing, a progressive stagger pattern can make the job easier and faster without the pattern becoming too noticeable. With this strategy, the cut off piece for one course becomes the first piece in the course above, making efficient use of materials and ensuring that all butt joints land on studs.
How Do I Flash the Siding Butt Joints?
Flashing behind butt joints is an effective, low maintenance way to comply with building code and help protect against water intrusion. James Hardie recommends 6-inch-wide flashing that overlaps the course below by 1-inch. However, some local building codes may require different size flashing.
Joint flashing must be durable, waterproof material that does not react with cement products. Examples of suitable material include finished coil stock and code-compliant water-resistive barriers such as Hardie® Wrap weather barrier. Other products may also be suitable.
What are Some Helpful James Hardie Lap Siding Installation Tips?
We have lots of great Hardie® Plank lap siding installation tips that will help you with your project.
- For accurate fastening, snap vertical chalk lines on the water-resistive barrier at the center of every stud location.
- When taking planks from the pallet for installation, avoid repeating the texture pattern by working your way across the pallet (instead of down). Two to four planks can be removed from a stack at one time. Then, you should take material from adjacent stacks, again working across the pallet.
- Use light-colored joint flashing when using light-colored siding with ColorPlus® Technology or other siding with light finishes. Dark-colored joint flashings should be used on siding with dark finishes.
- Hardie® Plank lap siding with ColorPlus® Technology is shipped with a protective laminate slip sheet, which should be left in place during cutting and fastening to reduce marring and scratching. The sheet should be removed immediately after each plank is installed.
- Use moderate contact on butt joints when joining two pieces of plank.
If you’re installing Hardie® Shingle siding as an accent on your project, you can view tips on installing that product here.